{"city":"Bengaluru","temperature":27.1,"conditions":"Mostly cloudy","forecasts":[{"date":"2024-09-02T07:00:00+05:30","temperature":83,"conditions":"Partly sunny w/ t-storms"},{"date":"2024-09-03T07:00:00+05:30","temperature":83,"conditions":"Thunderstorms"},{"date":"2024-09-04T07:00:00+05:30","temperature":83,"conditions":"Intermittent clouds"},{"date":"2024-09-05T07:00:00+05:30","temperature":82,"conditions":"Dreary"},{"date":"2024-09-06T07:00:00+05:30","temperature":82,"conditions":"Dreary"}]}%
```
This indicates that your Node.js application is now successfully routing requests to the WireMock container and receiving the mocked responses
You might have noticed that you’re trying to use `http://localhost:5001` as the URL instead of port `8080`. This is because your Node.js application is running on port `5001`, and it's routing requests to the WireMock container that's listening on port `8080`.
> [!TIP]
> Before you proceed to the next step, ensure that you stop the node application service.
## Use a Live API in production to fetch real-time weather data from AccuWeather
To enhance your Node.js application with real-time weather data, you can seamlessly integrate the AccuWeather API. This section of the guide will walk you through the steps involved in setting up a non-containerized Node.js application and fetching weather information directly from the AccuWeather API.
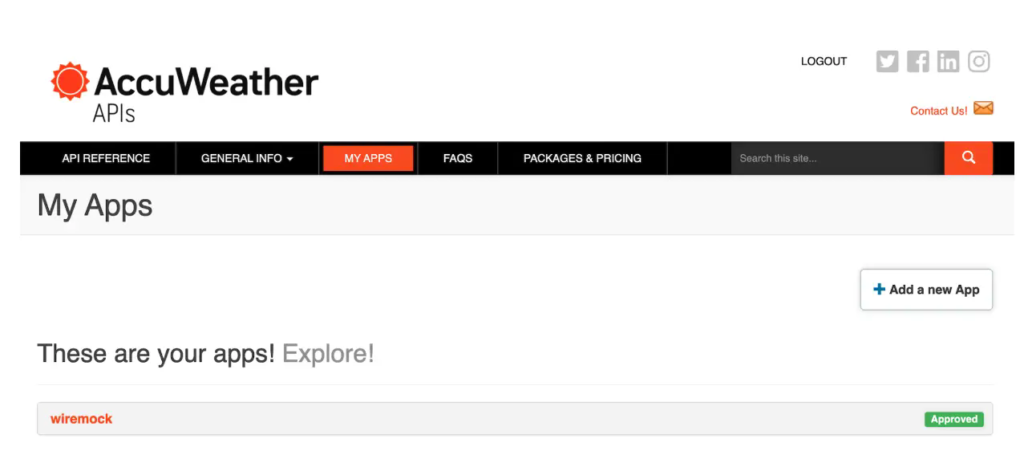
1. Create an AccuWeather API Key
Sign up for a free AccuWeather developer account at[https://developer.accuweather.com/](https://developer.accuweather.com/). Within your account, create a new app by selecting `MY APPS` on the top navigation menu to get your unique API key.