5. In the terminal, start your freshly pushed app.
```console
$ docker run -dp 0.0.0.0:3000:3000 YOUR-USER-NAME/getting-started
```
You should see the image get pulled down and eventually start up.
> [!TIP]
>
> You may have noticed that this command binds the port mapping to a
> different IP address. Previous `docker run` commands published ports to
> `127.0.0.1:3000` on the host. This time, you're using `0.0.0.0`.
>
> Binding to `127.0.0.1` only exposes a container's ports to the loopback
> interface. Binding to `0.0.0.0`, however, exposes the container's port
> on all interfaces of the host, making it available to the outside world.
>
> For more information about how port mapping works, see
> [Networking](/manuals/engine/network/_index.md#published-ports).
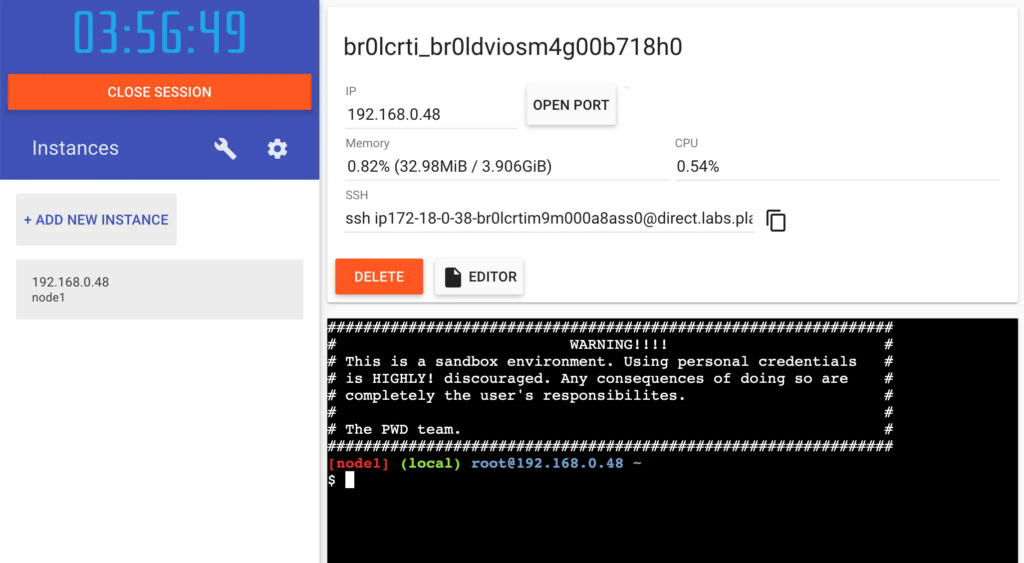
6. Select the 3000 badge when it appears.
If the 3000 badge doesn't appear, you can select **Open Port** and specify `3000`.
## Summary
In this section, you learned how to share your images by pushing them to a
registry. You then went to a brand new instance and were able to run the freshly
pushed image. This is quite common in CI pipelines, where the pipeline will
create the image and push it to a registry and then the production environment
can use the latest version of the image.
Related information:
- [docker CLI reference](/reference/cli/docker/)
- [Multi-platform images](/manuals/build/building/multi-platform.md)
- [Docker Hub overview](/manuals/docker-hub/_index.md)
## Next steps
In the next section, you'll learn how to persist data in your containerized application.
{{< button text="Persist the DB" url="05_persisting_data.md" >}}